How to Use Green Screen on CapCut- A Step-by-Step Guide
Do you want to create viral videos or reels that get millions of views? You can easily do that with CapCut, one of the most popular video editors. It is available for Android, iOS, and PC/Windows users and offers multiple features to take your videos to the next level.
Read this article to learn how to use green screen on CapCut to replace your video background with an image or video of your choice. You can also use other elements like fast-paced transitions, bold text overlays, sound effects, and emojis to keep your audience engaged and hooked.
What is Green Screen Editing?
Green screen editing is an innovative method that allows you to record your video against a bright green background and then customize it with a desired digital background. Why do we use a green background? Green doesn’t match any natural skin tone or hair color, making it easy to remove without affecting the person in the foreground.
This technique is mostly used in movies and now almost every content creator is using green screens for video editing. The green screen feature in CapCut helps you change your video background into any iconic location you want.
CapCut Green Screen Features
CapCut offers many video editing features, including an incredible green screen editor. Let us discuss some top features.
Easy Background Removal
CapCut is the go-to tool for saving time during video editing. Its advanced green screen editor removes the background in one click. Once the background is removed, you can add scenic backgrounds or special effects in no time. It makes the whole process smooth and saves time.
No Watermarks
CapCut allows you to export your video without a watermark. This feature makes your video look professional and polished.
Versatile Editing Tools
In the CapCut green screen editor, you can find versatile editing tools like Chroma Key, layering options, opacity control, speed adjustment, and much more. These tools are beginner-friendly and help you create high-quality videos.
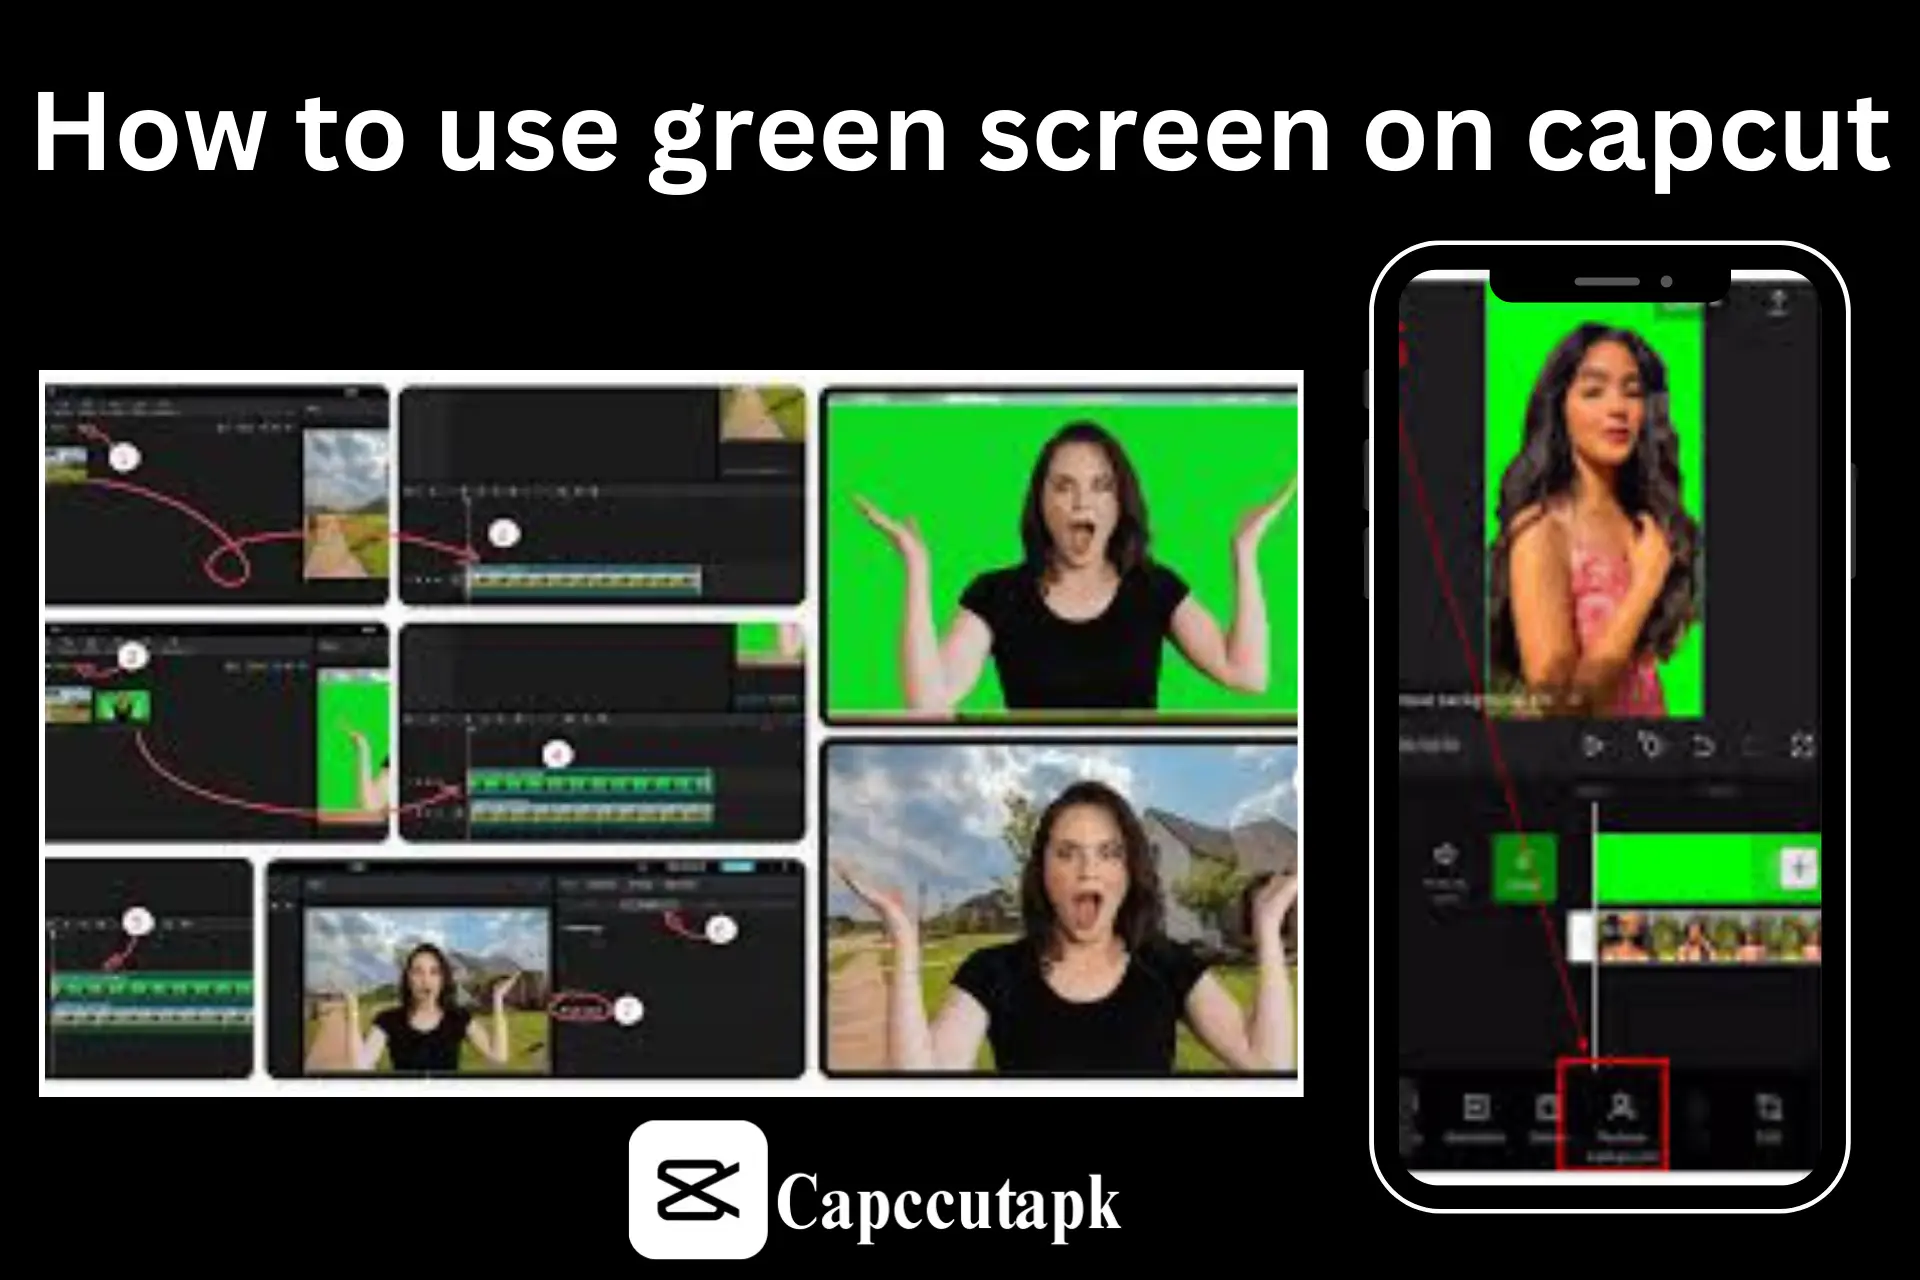
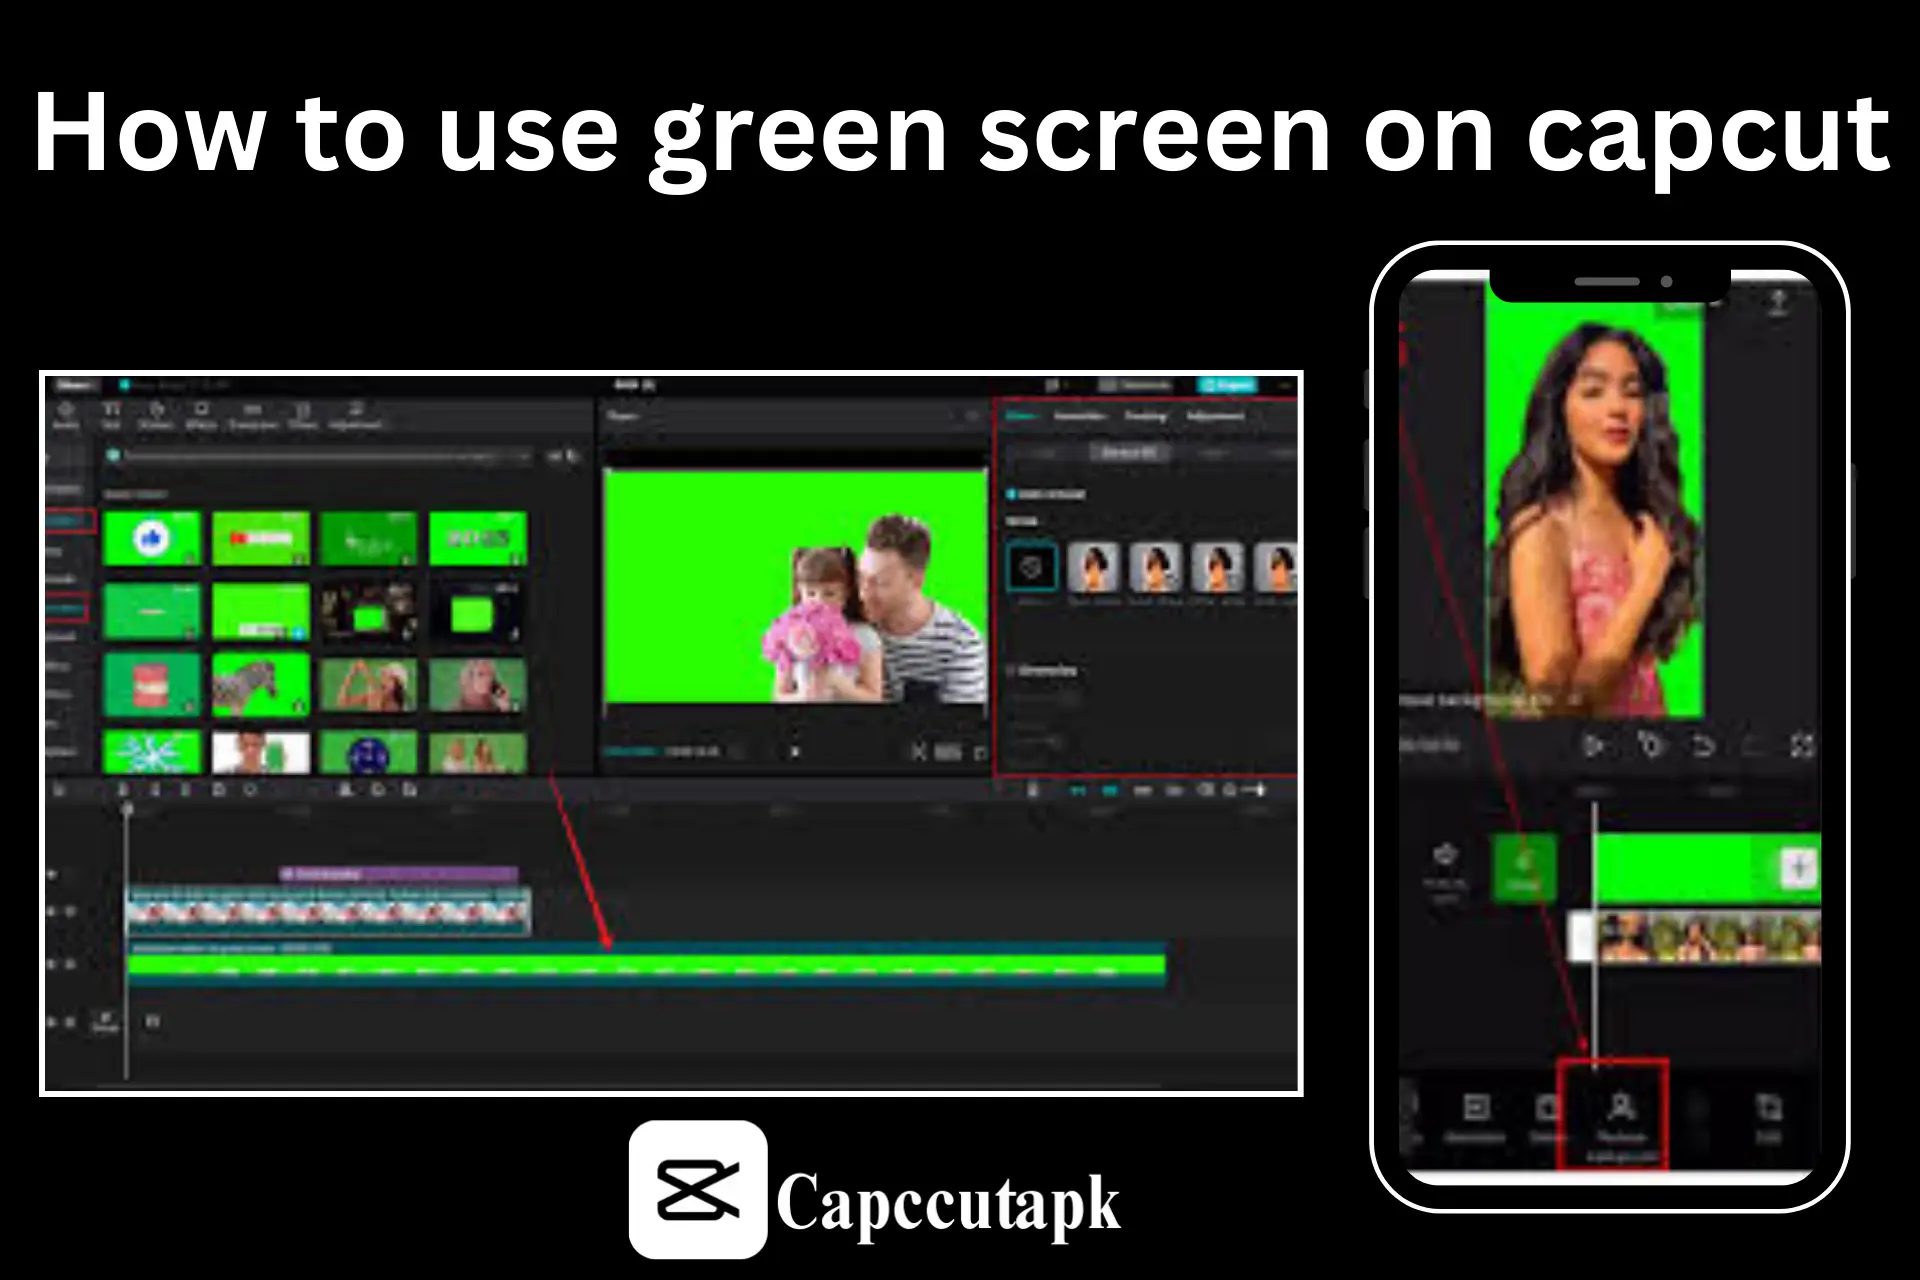
How to Use Green Screen on CapCut?
Download and install CapCut on your PC or mobile phone and use any of the two methods to use the green screen video editor on CapCut.
Method 1: Using Chroma Key
Step 1: Add Your Background Clip to the Timeline
Open CapCut and click on Create a New Project. Now, upload the video or image you want to use as background.
Step 2: Import Your Green Screen Video as an Overlay
Now, import your green screen video as an overlay and place it in the timeline above the background video. You can adjust the size and position of your video to align it with your background.
Step 3: Use the Chroma Key to Remove the Green Screen
Now tap on the green screen video to select it. Once selected, click on the Cutout option and choose Chroma Key. Use the color picker tool and select green color in your overlay video.
Step 4: Adjust Intensity and Shadows
Adjust the intensity and use shadow to make the overlay blend naturally with the background.
Step 5: Preview and Export Your Video
Play your video and check the green screen is removed successfully and the background fits perfectly with the video. When satisfied, tap the export button to save your video in your preferred 720p or 1080p resolution.
Method 2: Using the Background Remover (Auto Cutout)
If you want to move the green screen and add a professional background, CapCut’s Auto Cut Out feature is for you. Here is a step by step guide on how to use this feature.
Step 1: Add Your Background Clip
Open CapCut Pro APK and click on Create a new project. Import the video or image you want to use as background and place it on the timeline.
Step 2: Add Your Main Video as an Overlay
Now, upload the video that you want to edit. Use the overlay option and position this video above the background clip on the timeline.
Step 3: Remove the Background with Auto Cut Out
Select your main video and click on the Auto Cut Out button. CapCut will automatically remove the background. Now your uploaded background is applied to the video.
Step 4: Step 4: Final Edits and Export
Now you can make final edits and adjustments. Once you are satisfied, export your video to your preferred resolution.
Conclusion
In conclusion, green screen editing on CapCut is one of the best tools to create high-quality, professional videos. You can experiment with various effects, transitions, overlays, and backgrounds to produce engaging. Download CapCut to create and edit content that attracts the audience and helps you grow your online brand.
FAQs-Frequently Asked Questions
Is CapCut green screen free?
Yes, the CapCut green screen feature is completely free.
Can I apply green screen effects without a green screen?
Yes, you can apply green screen effects in CapCut if you do not use green screen during recording. You can use any of the above-listed methods to remove the video background.
How to remove the green screen on CapCut?
You can remove the green screen by using Chroma Key or Auto Cutout features. If you have experience in video editing, you can also manually remove the green screen with a custom removal tool.